Trim work is where the quality of a paint job is judged. Here's the process we use for crisp, factory-smooth results on every door and baseboard in your home.
Trim is the detail work that separates a good paint job from a professional one. You can roll walls in a day, but baseboards and door casings are what people's eyes actually land on. Get them right and the whole room looks finished. Get them wrong and the whole room looks rushed. Here's the process we use on every Yellow Painting project.
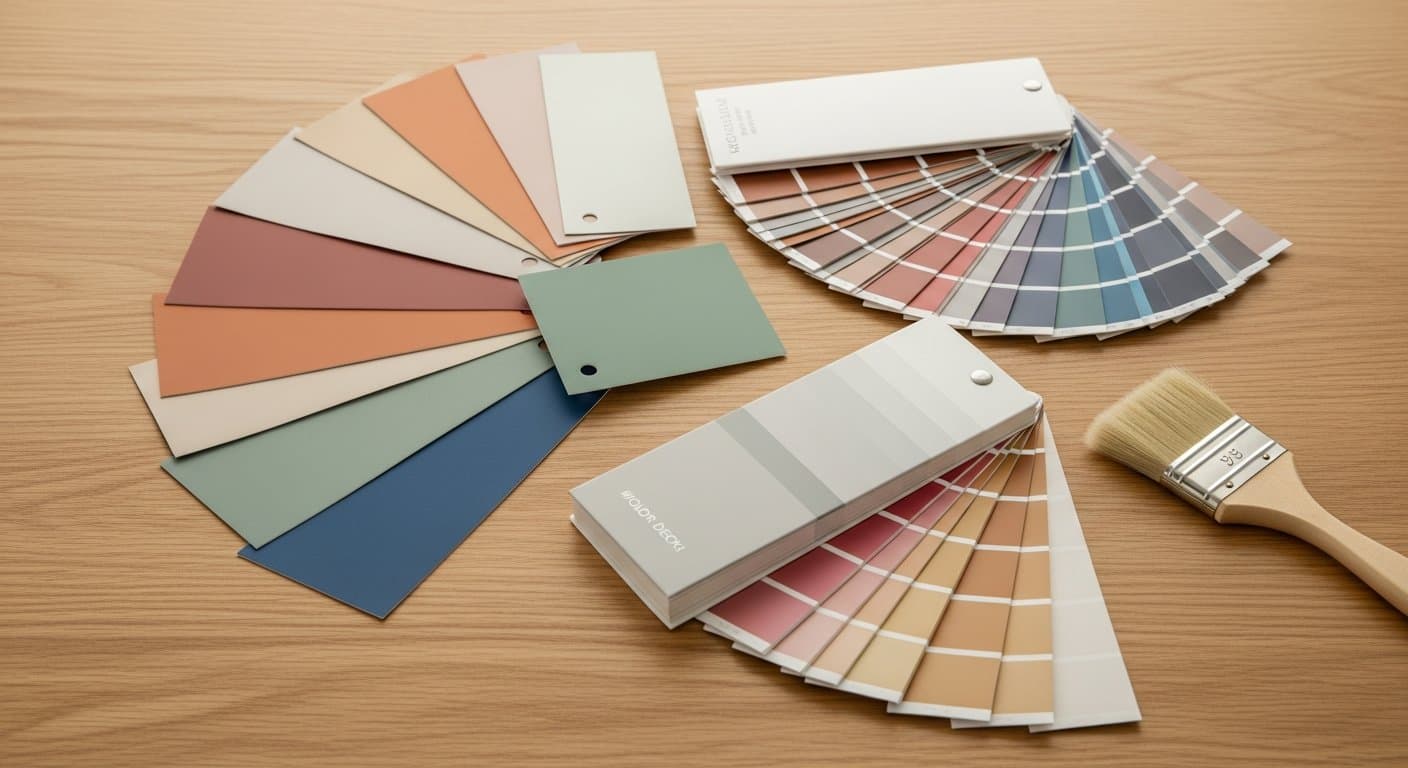
The Right Paint for Trim
Trim paint needs to be harder and more washable than wall paint. It should self-level so brush marks disappear, and it should cure to a surface that resists scuffs from shoes, vacuums, and furniture. The two products we reach for most:
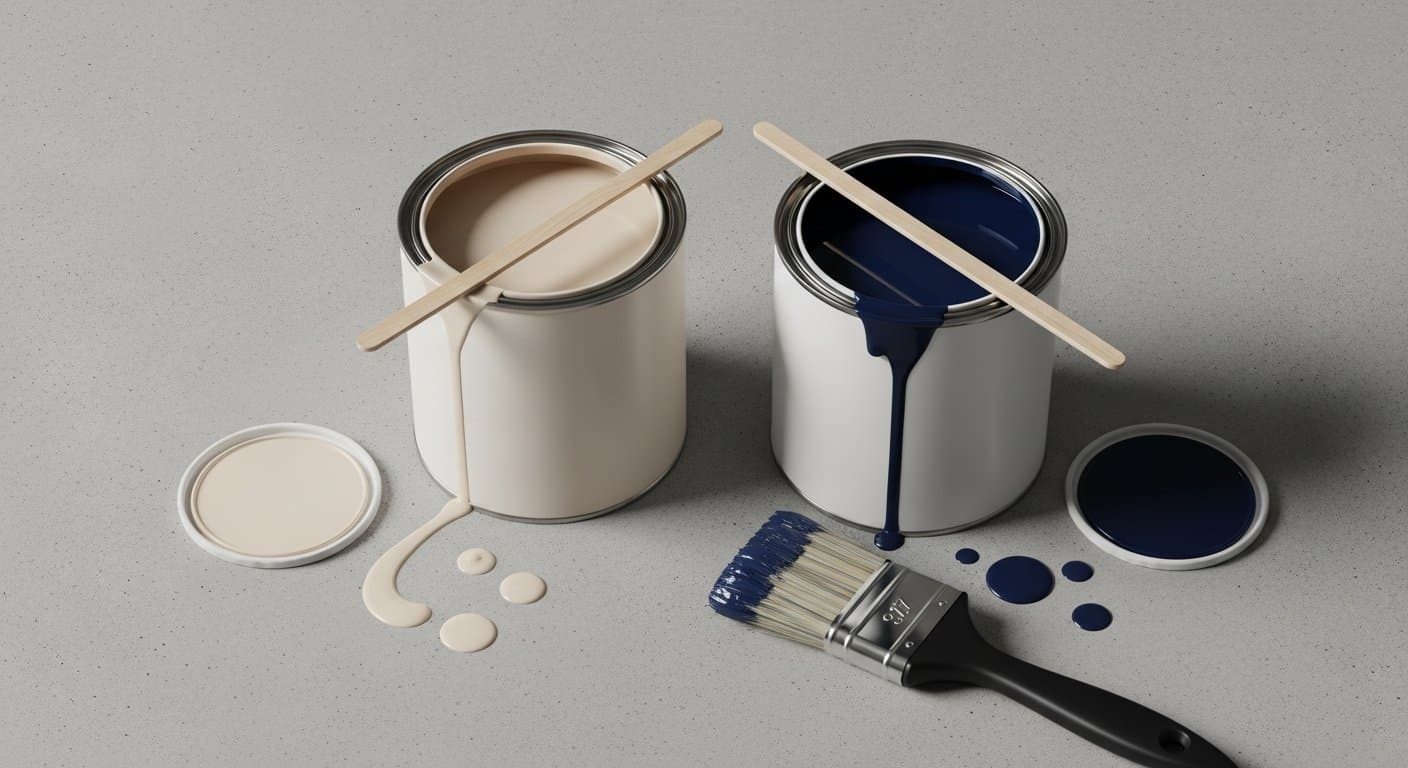
- Benjamin Moore Advance — a waterborne alkyd that levels out like oil but cleans up with water
- Sherwin-Williams ProClassic — a waterborne acrylic-alkyd hybrid with similar properties
Both are available in satin or semi-gloss. Satin is slightly softer and easier to touch up; semi-gloss shows off the detail in the molding and is a bit more wipeable. Either works — match the existing sheen if the rest of the trim in your home is already painted.
Prep, Prep, Prep
Trim prep is a multi-step process, and every step matters:
- Clean all trim with a damp cloth to remove dust, pet hair, and kitchen grease
- Fill every nail hole with lightweight spackle or wood filler
- Caulk every gap where trim meets wall, ceiling, or floor — with paintable latex caulk
- Sand the trim lightly with 220-grit paper to knock down any ridges and give the primer something to grab
- Wipe with a tack cloth to remove sanding dust
- Prime any bare wood, filler spots, or stain-bleeding areas
Caulking Is Not Optional
This is the step DIY painters skip most often, and it's what separates a $500 trim job from a $3,000 one. The thin shadow line where baseboard meets wall (or where casing meets the jamb) should be filled with a bead of paintable latex caulk, smoothed with a wet finger, and allowed to dry before painting. Once caulked and painted, the trim looks like it's melted into the wall — no shadow, no gap, no flaw.
Brush vs Roller vs Spray
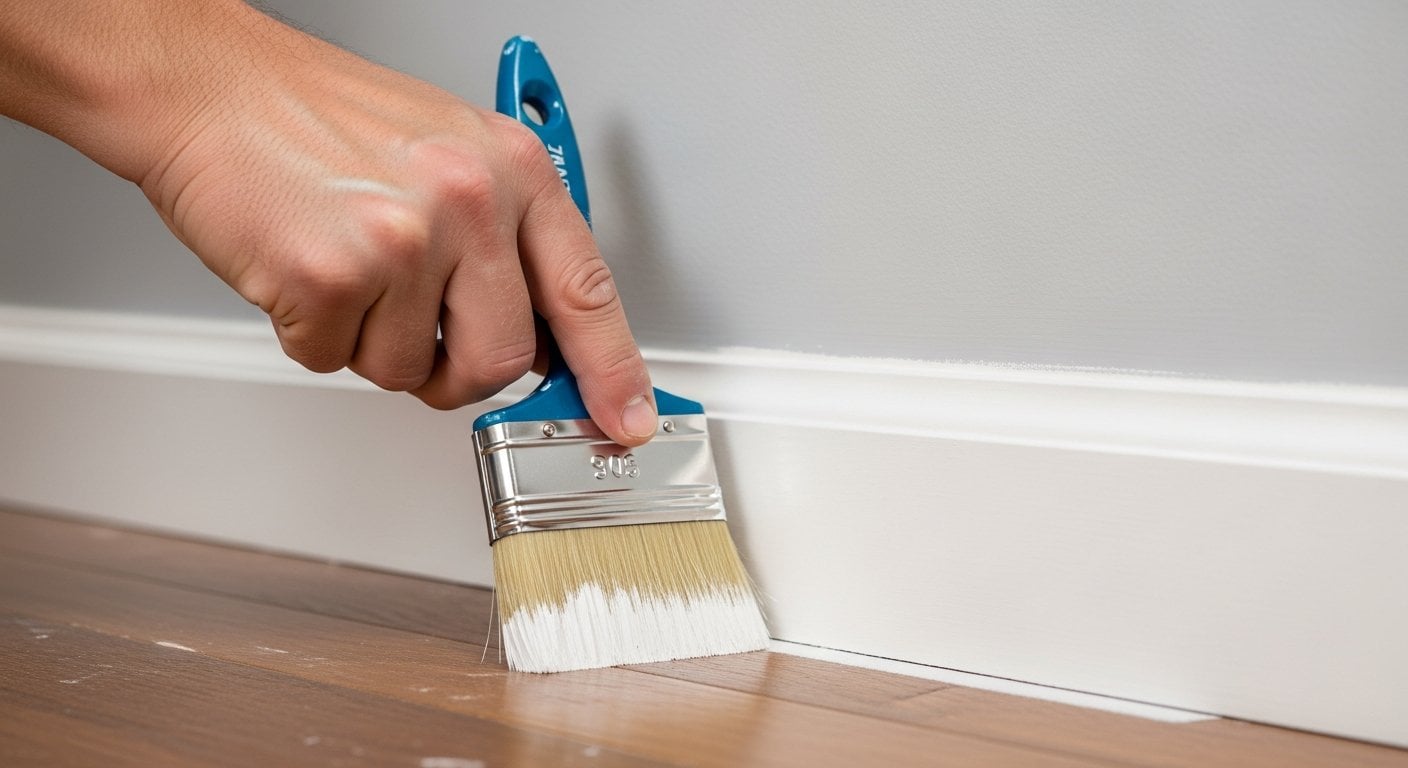
For baseboards and small trim, a 2" to 2.5" angled sash brush gives the best control. For large flat doors, we remove the door from its hinges and spray it in our shop for a true factory finish. Rolling trim usually leaves a slight orange-peel texture — OK in a pinch, but not our preferred method for visible surfaces.
Cutting In to the Wall
When trim and wall are different colors, most homeowners tape. Pros usually don't. We use a quality angled brush and a steady hand to cut a crisp line, and we cut the trim first, then the wall. If you prefer to tape, use a high-quality tape like FrogTape or 3M Delicate Surface, press the edge down hard with a putty knife, and pull the tape while the paint is still slightly wet so it doesn't peel up the paint film.
Doors: The Special Case
Interior doors are tricky because they have multiple surfaces and they need to close without sticking. Remove the door from the hinges when possible, lay it flat on sawhorses, and paint in this order: recessed panels first, then horizontal rails, then vertical stiles. Paint the edges last. Let each side cure for at least 24 hours before rehanging — waterborne alkyd needs full cure time to stop tacking.
Need crisp trim without the weekend-long project? Yellow Painting handles baseboards, crown molding, doors, and window casings as a standalone service. Call (949) 704-7035.
Ready to refresh your home?
Yellow Painting serves homeowners across Irvine, Lake Forest, Laguna Beach, and the rest of Orange County. Free on-site estimates, premium paints, 1-year workmanship warranty.
(949) 704-7035